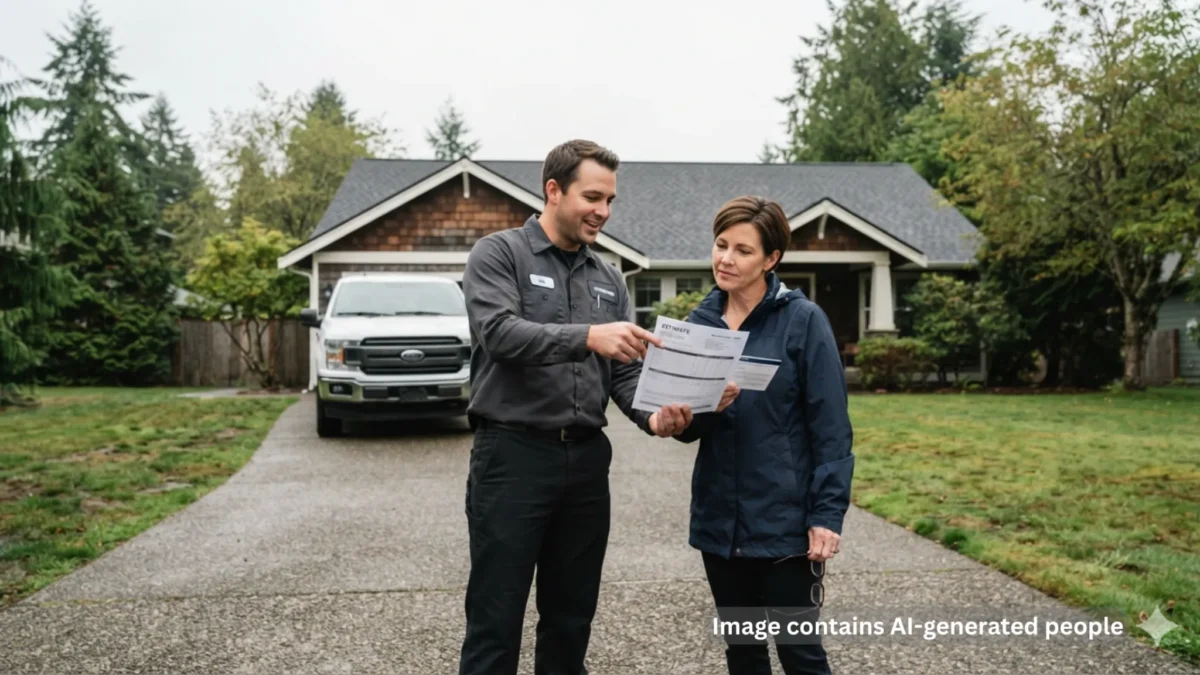
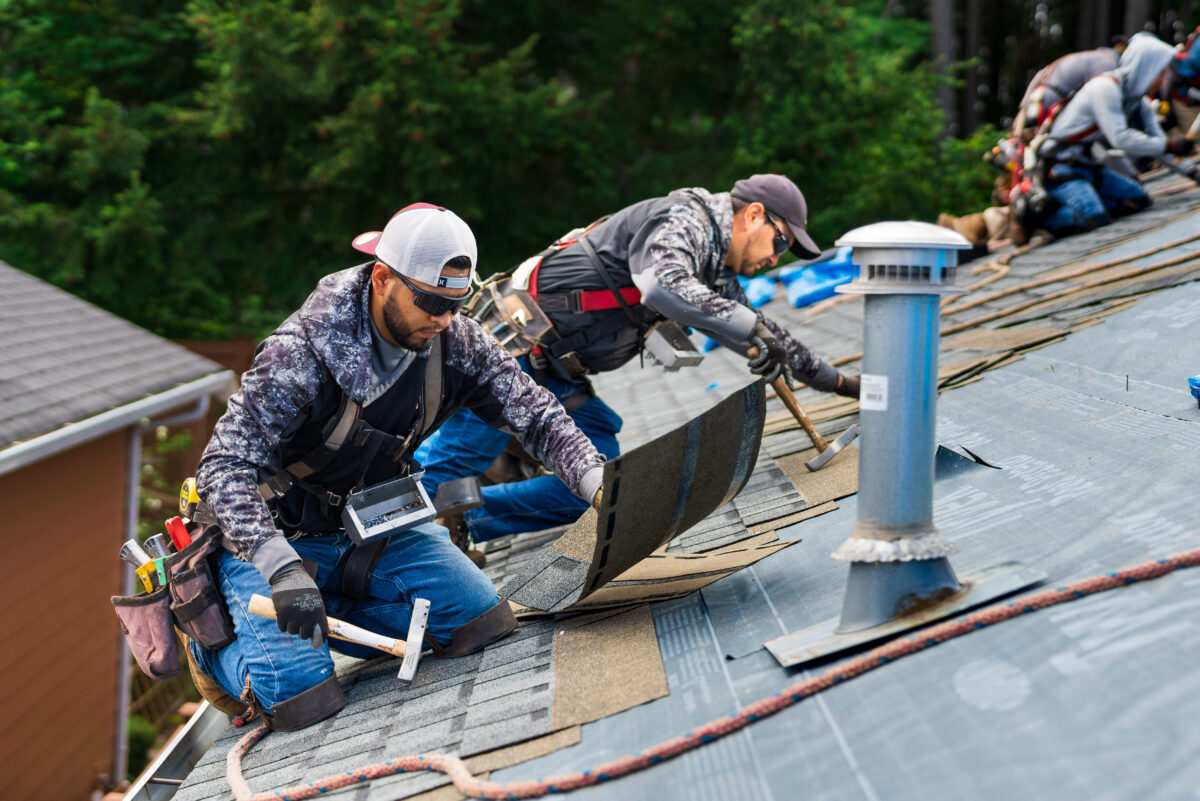
The short answer: roofing company trustworthiness comes down to three things you can actually verify—active state registration with the required bond and insurance, a clear written estimate, and a track record you can check rather than just take someone’s word for. Everything else is detail.
Summer is one of those seasons when the roof is easy to forget. The skies are clear, the gutters aren’t overflowing, and the only water coming in is through the windows you opened on purpose. Everything seems fine.
Most homeowners don’t think much about their roof until something goes wrong. That’s completely understandable—a roof that’s doing its job is invisible in the best possible way. But there usually comes a moment when the question surfaces: how old is this roof, and how much longer does it have?
If you’ve lived in the Pacific Northwest for more than a season or two, you know the look. That soft, creeping green spreading across your neighbor’s roof. The dark streaks running down shingles like someone forgot to clean up after a storm. Maybe you’ve noticed it on your own home and told yourself you’d deal with it later.
Here’s the thing: moss and algae on a PNW roof aren’t a “later” kind of problem. They’re patient, quiet, and remarkably good at causing damage long before you realize anything is wrong. Understanding what you’re actually dealing with—and why the Pacific Northwest makes it so much worse than most other regions—can save you from a much bigger headache down the road.
Moss and Algae: Not the Same Problem
Most homeowners use the terms interchangeably, but moss and algae behave very differently on your roof, and knowing the difference helps you respond the right way.
What Moss Actually Is
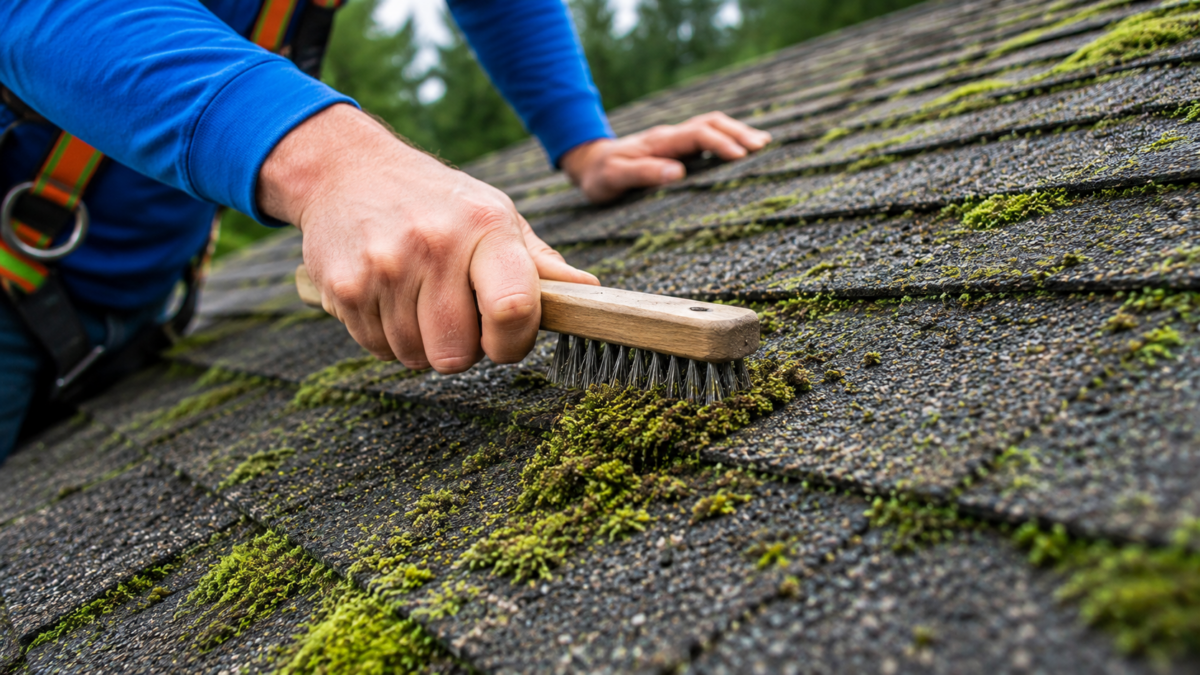
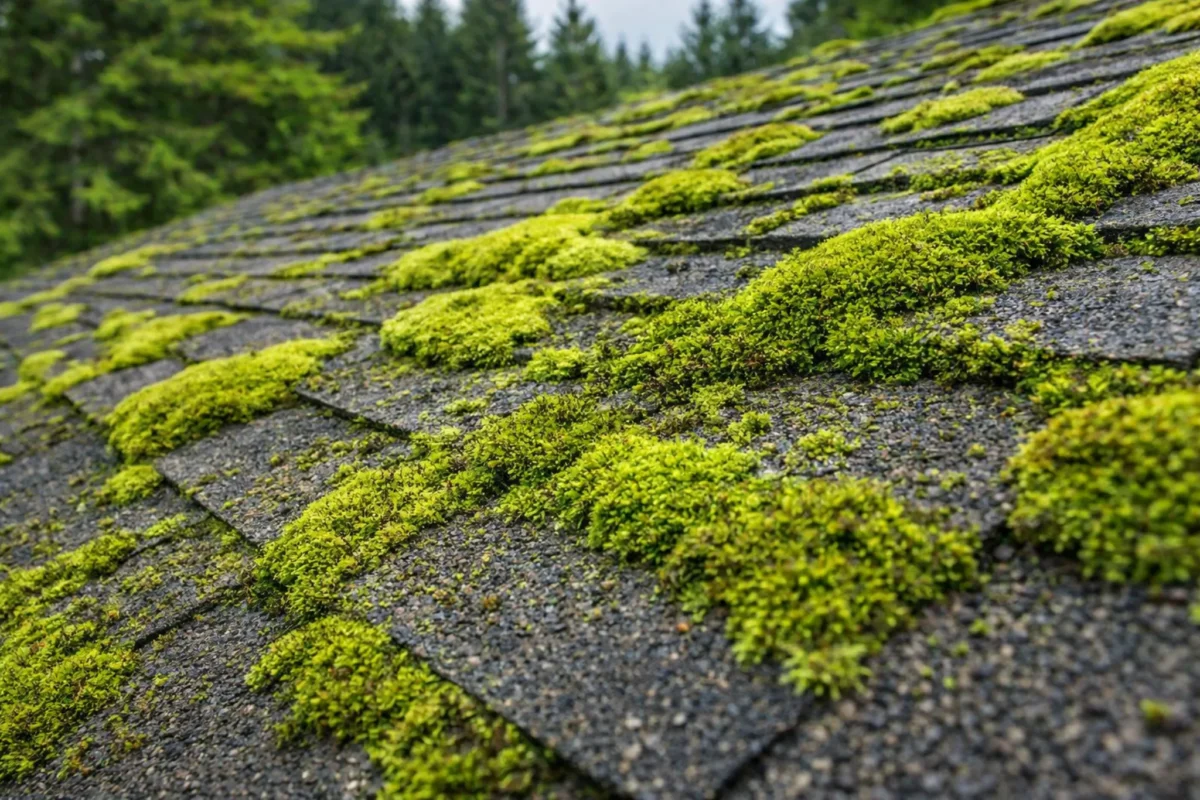
Moss is a living plant. It grows in dense, sponge-like mats and puts down root-like structures called rhizoids that anchor directly into roofing materials. It thrives in shaded, damp areas and loves north-facing roof slopes where sunlight rarely reaches. Once established, a moss colony holds moisture like a wet sponge pressed against your shingles—24 hours a day, 7 days a week.
What Algae Looks Like (and Why It’s Easy to Dismiss)
Algae, by contrast, doesn’t have roots. It typically shows up as dark brown or black streaks—the kind of discoloration many homeowners mistake for dirt or soot. The most common culprit in the PNW is Gloeocapsa magma, a type of cyanobacteria that feeds on the limestone filler in asphalt shingles. It doesn’t burrow in the way moss does, but it does degrade your shingles over time and creates the damp surface conditions that allow moss to take hold afterward.
Think of algae as the advance team. Moss is what moves in once the groundwork is laid.
A Quick Side-by-Side
Moss
Algae
Appearance
Green, thick, spongy mats
Dark brown or black streaks
Root structure
Yes—penetrates shingles
No—surface growth only
Primary damage
Moisture retention, physical lifting
Shingle degradation, aesthetic damage
PNW prevalence
Extremely high
High, especially on older roofs
Spreads via
Spores carried by wind and birds
Airborne spores
Why the PNW Is Ground Zero for Roof Moss
If you’ve ever wondered why moss seems so much more aggressive here than in other parts of the country, the answer comes down to a perfect storm of conditions that your roof has to endure year after year.
Rainfall That Doesn’t Quit
Western Washington averages well over 50 inches of rainfall annually in many areas. That’s not just a lot of water—it’s consistent, sustained moisture that keeps roofing surfaces damp for extended periods. Unlike regions where rain comes in bursts followed by dry spells, the PNW delivers slow, persistent precipitation that gives moss exactly the conditions it needs to establish and spread.
Shade From Tree Cover
Much of the PNW is canopied. Tall conifers, maples, and alders shade homes for most of the day, which dramatically slows the drying time on roof surfaces. A roof that might dry out within an hour after rain in Arizona could stay damp for the better part of a day in Lacey or Olympia. That extended dampness is exactly what moss feeds on.
Mild Temperatures Year-Round
Moss doesn’t need summer heat to grow—in fact, it prefers cooler conditions. The PNW’s mild, temperate climate means moss has a much longer active growing season than it would in regions with harsh winters or hot summers that effectively kill it off. Here, it grows nearly year-round.
Organic Debris on the Roof
Pine needles, leaf litter, and seed pods accumulate in roof valleys, along ridgelines, and in gutters. That organic debris traps moisture and provides a nutrient-rich base for moss to take root. Homes surrounded by mature trees are especially vulnerable, and if your gutters aren’t being maintained regularly, that debris problem compounds quickly.
Does Moss Actually Damage Your Roof, or Is It Just Cosmetic?
This is the question we hear most often, and the answer is clear: moss causes real structural damage. It is not a cosmetic issue.
How Moss Destroys Shingles From the Inside Out
Here’s the sequence that plays out when moss goes untreated on a PNW roof:
Moss establishes a foothold in the granules of your asphalt shingles
Its rhizoids (root-like structures) begin working into the shingle material
As the moss absorbs and holds moisture, the shingle beneath stays perpetually wet
That constant moisture accelerates granule loss, which is the protective layer that shields your shingles from UV rays and weathering
The shingle becomes brittle, begins to curl at the edges, and eventually cracks
Once shingles start curling, you’re one heavy rain event away from a leak.
The Freeze-Thaw Cycle Makes It Worse
In areas where temperatures dip below freezing—even occasionally—moss makes the freeze-thaw cycle significantly more damaging. Moss holds water in its spongy structure. When that water freezes, it expands. That expansion happens inside and beneath your shingles, physically forcing them apart. Over multiple freeze-thaw cycles, even newer shingles can develop cracks and gaps that allow water intrusion.
Moss Adds Weight
This one surprises a lot of homeowners. Thick, saturated moss mats can add meaningful weight to sections of a roof. Over time, that added load stresses the decking and underlying structure in ways that weren’t part of the original design. It’s rare that moss alone causes structural failure, but it contributes to a cumulative strain that shortens the life of everything beneath it.
What Happens If You Ignore Moss Long-Term?
The consequences of untreated moss aren’t dramatic overnight—they’re gradual, quiet, and expensive. Here’s what the timeline often looks like for homeowners who put it off.
Year One to Two: Surface Damage Begins
Moss is still relatively shallow. Granule loss begins on the affected shingles. Algae streaks may appear nearby. The damage is real but not yet severe. This is the easiest and least expensive point to intervene.
Year Three to Five: Moisture Infiltration
By now, moss has established deep root systems into shingle material. Shingles in affected areas show visible curling or lifting. Water is likely seeping beneath the shingles during heavy rain. Interior moisture damage—staining on ceilings or in attic insulation—may start to appear.
Year Five and Beyond: Structural and Financial Consequences
Prolonged moisture intrusion reaches the roof deck, underlayment, and potentially framing. What began as a moss problem now involves rotted decking, compromised insulation, and potentially mold. At this stage, you’re not looking at a cleaning or repair—you’re looking at partial or full roof replacement. The cost difference between early intervention and late-stage remediation can be tens of thousands of dollars.
A Note on Insurance
Some homeowners’ insurance policies include exclusions for damage caused by neglected maintenance. Moss-related water damage that could have been prevented through regular roof care may not be covered. If you’re unsure about your policy, it’s worth a conversation with your provider before a problem develops.
North-Facing Slopes: The First Place to Look
If you want to spot moss early, start by looking at the north-facing slopes of your roof. Because they receive the least direct sunlight, they stay damp the longest and are almost always where moss establishes first. By the time moss is visible on southern slopes, the north side is often well into active growth.
Other high-risk areas include:
Roof valleys, where debris and water collect
Areas beneath overhanging branches, which block sunlight and drop organic matter
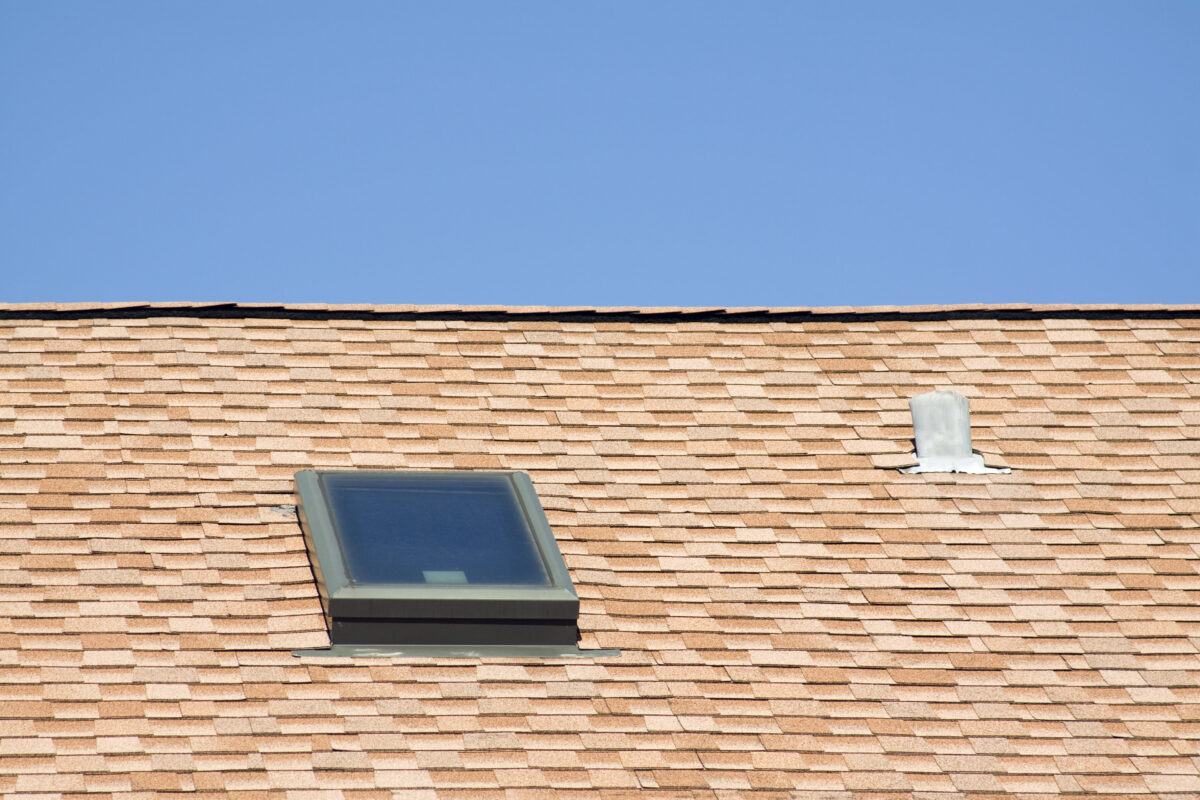
Around chimneys and skylights, where debris gathers and flashing creates small moisture traps
Low-slope roof sections, where water drains more slowly
How Fast Does Moss Spread?
Faster than most people expect. Moss reproduces through spores that travel via wind, rain runoff, and birds. A small patch on one section of your roof can spread across adjacent areas within a single wet season. Once it crosses a ridgeline and gets onto a previously clean slope, the growth accelerates because it now has new, undamaged shingle material to colonize.
This is part of why the PNW roofing rule of thumb is simple: if you can see moss from the ground, it’s already been growing for a while.
Algae’s Long Game: Setting the Table for Moss
Algae often flies under the radar because it doesn’t have the dramatic, visible presence of a moss mat. But its role in long-term roof deterioration shouldn’t be underestimated.
What Algae Does to Your Shingles
Gloeocapsa magma feeds on the calcium carbonate (limestone) in your asphalt shingles. As it consumes that material, the structural integrity of the shingle gradually weakens. The dark pigmentation it produces—the streaks you see running down roof surfaces—is actually a protective coating the algae secretes to shield itself from UV rays. Your roof ends up absorbing more heat as a result, which can affect energy efficiency inside your home.
Why Algae Invites Moss
Algae creates a biofilm on your shingles—a thin, organic layer that retains moisture and provides a nutrient-rich surface. That biofilm is essentially a welcome mat for moss spores. Roofs that develop algae streaks and go untreated frequently develop moss colonies within a season or two. Addressing algae early is one of the most effective ways to prevent a moss problem from developing at all.
Preventing Moss and Algae Before They Start
The most cost-effective approach to moss and algae on a PNW roof is prevention. A few practices make a meaningful difference.
Trim Overhanging Branches
Reducing tree coverage over your roof increases sunlight exposure and improves airflow—two of the most effective natural deterrents to moss growth. Even trimming back branches by a few feet can reduce how long your roof stays damp after rainfall.
Keep Gutters Clean
Debris-clogged gutters cause water to back up along the roofline, keeping the edges of your roof wet for extended periods. Regular gutter cleaning removes the organic material that feeds moss and helps water drain the way it’s supposed to.
Zinc or Copper Strips
Zinc and copper are toxic to moss and algae. Installing thin strips along the ridgeline of your roof allows rainwater to carry trace amounts of the metal down the surface each time it rains, creating an inhospitable environment for growth. It’s not a permanent solution on its own, but it’s an effective supplemental measure.
Algae-Resistant Shingles
If you’re approaching a roof replacement, ask about shingles that are manufactured with copper granules embedded in the material. These are specifically designed to inhibit algae growth and carry performance ratings for the Pacific Northwest climate.
Regular Roof Inspections
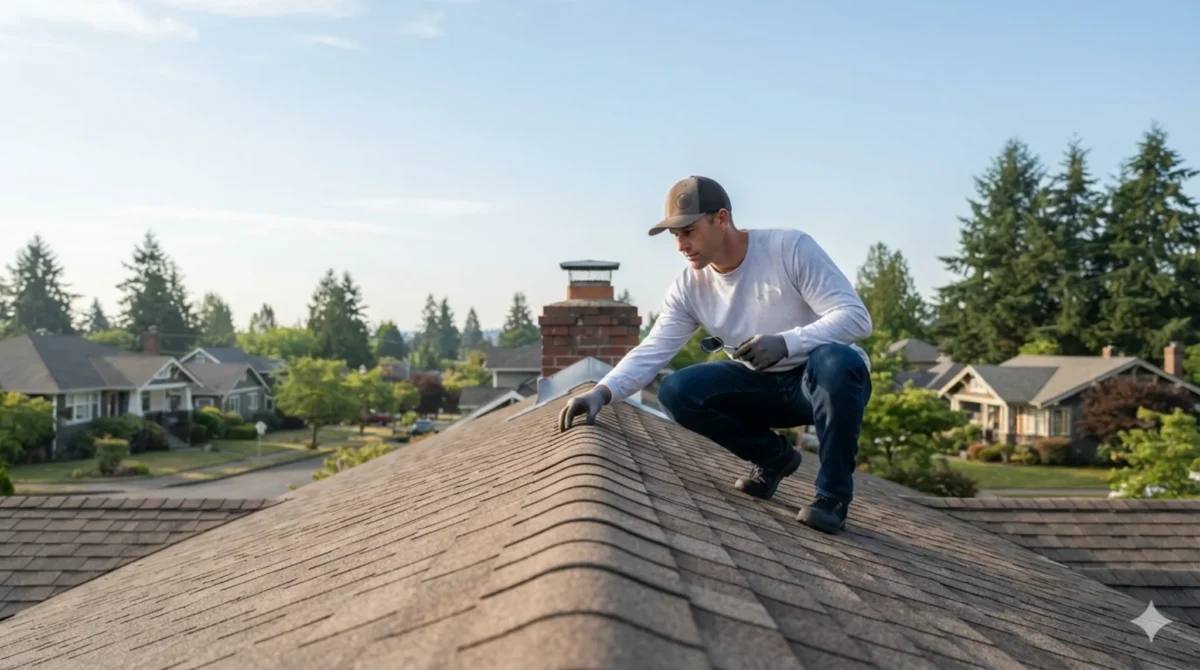
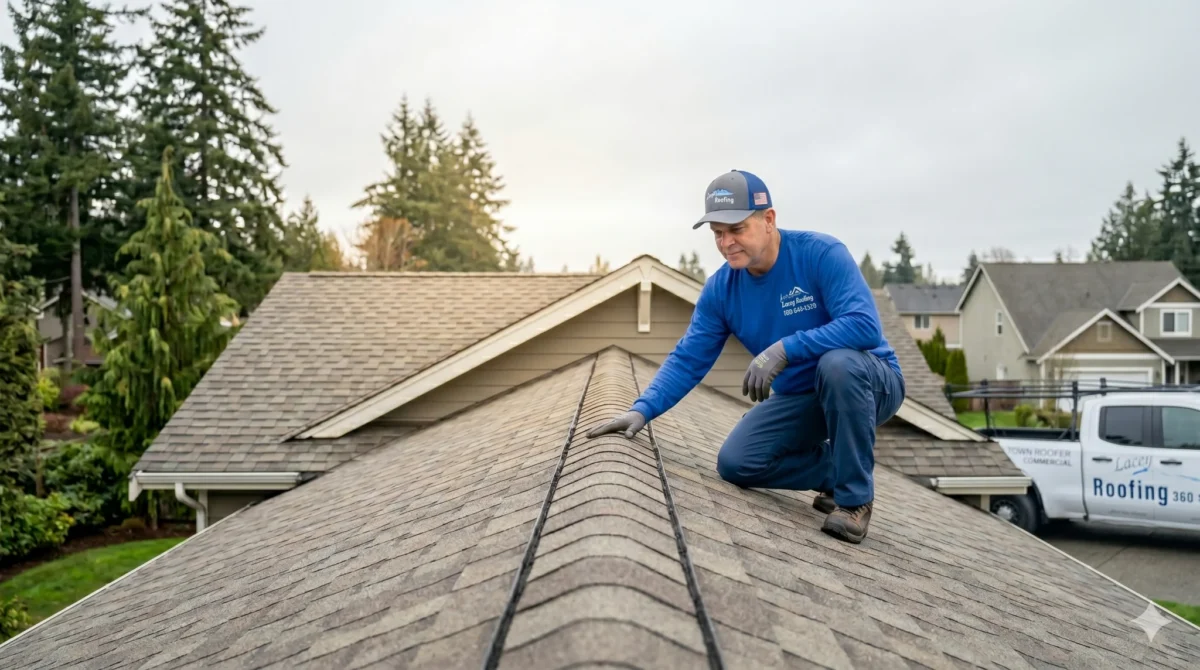
Annual or bi-annual roof inspections catch early-stage moss and algae growth before it becomes a remediation project. A qualified roofer can identify problem areas, check flashing, and give you an honest assessment of where your roof stands—without the pressure of waiting until something goes wrong.
The Right Way to Remove Moss (and What to Avoid)
When moss is already present, removal needs to be done carefully. Done wrong, it can cause as much damage as the moss itself.
What Works
Soft washing—using low-pressure water combined with a moss-killing treatment—is the safest and most effective removal method for asphalt shingles. The treatment kills the moss at the root, and the gentle rinse removes surface growth without dislodging granules.
What to Avoid
Pressure washing is a common DIY approach that typically causes more harm than good. High-pressure water blasts away the granule layer that protects your shingles from UV damage, effectively aging your roof years in a single afternoon. Stiff scrubbing and metal tools have a similar effect. If someone quotes you a pressure wash for moss removal, that’s worth a second opinion.
Timing Matters
The best time to treat moss is in late fall or early spring, before the peak growing season. Treating in dry weather allows the product to penetrate the moss more effectively before rain washes it away.
Thinking About the Long Game
A roof in the Pacific Northwest is working harder than most. It contends with more rainfall, more shade, more organic debris, and more sustained moisture than roofs in most other climates. Moss and algae aren’t inevitable problems—they’re manageable ones, as long as you stay ahead of them.
The homeowners who get the most years out of their roofs in this region aren’t the ones who react when something goes wrong. They’re the ones who stay proactive: keeping gutters clean, trimming trees, scheduling inspections, and addressing growth early when it’s still inexpensive to handle. That kind of consistent attention is what separates a 20-year roof from one that needs replacement at 12.
If you’re not sure where your roof stands, a professional inspection is the most useful first step you can take.
About Lacey Roofing
Lacey Roofing has been serving local homeowners and business owners since 1979. As a family-owned, locally operated company, we take pride in doing things right the first time—every time. Whether you need a roof inspection, moss treatment, gutter service, or a full replacement, our team brings the knowledge, punctuality, and genuine care that our neighbors in this community deserve. Roofing services you can rely on. Our reputation is watertight. Your roof done right, guaranteed. Reach out today—we’d love to help.
The short answer: Roof flashing is the thin metal material installed at every vulnerable seam, junction, and transition point on your roof—around chimneys, valleys, walls, vents, and skylights—to prevent water from sneaking into your home. It’s important because, without it, even brand-new shingles can’t stop water from finding its way inside.
When most homeowners think about their roof, shingles are the first thing that comes to mind—and honestly, that makes a lot of sense. Shingles are what you see. They’re what you notice after a storm and what your neighbor compliments after a reroof. But there’s another component doing just as much heavy lifting, quietly and out of sight, and it’s the one that often determines whether your roof actually keeps water out of your home. That component is roof flashing.
Here at Lacey Roofing, we’ve been protecting local homes since 1979. If there’s one thing four-plus decades in the roofing business will teach you, it’s this: a beautiful set of shingles over poorly installed or damaged flashing is a roof that’s already losing the battle. We’ve walked into plenty of attics over the years where the shingles looked fine from the street—but inside, the damage from failed flashing had been quietly spreading for months.
We don’t want that for your home. So let’s walk you through everything you need to know about roof flashing—what it is, where it lives, what happens when it fails, how long it lasts, and how to stay ahead of problems before they become expensive ones.
What Is Roof Flashing, and Why Is It So Important?
Roof flashing is a thin layer of metal—typically galvanized steel, aluminum, or copper—installed at the points on your roof most vulnerable to water intrusion. You’ll find it anywhere the roof surface meets another material or structure: a chimney, a wall, a skylight, a vent pipe, or a valley where two slopes meet.
The concept is straightforward: water always follows the path of least resistance. Wherever two surfaces meet, there’s a seam—and seams are open invitations for water. Flashing bridges those gaps and directs water away from joints, off the roof, and toward your gutters—where it belongs.
Without properly installed flashing, even a brand-new set of premium shingles can’t do its job. Shingles are designed to shed water across broad, continuous surfaces. They were never meant to seal tightly around a chimney base or waterproof the line where your roof meets a dormer wall. That responsibility falls entirely on the flashing, and when flashing is absent or failing, the consequences follow quickly.
Why Flashing Failures Are So Sneaky
One of the most frustrating things about a flashing failure is how quietly it develops. When water sneaks past a failed flashing point, it doesn’t create an immediate, obvious leak—it travels. It seeps through the roof deck, works its way into wall cavities, saturates insulation, and may travel several feet before showing up as a stain on your ceiling.
By the time you see that stain, the damage behind it is often already significant. Wood rot, mold growth, degraded insulation, and compromised structural framing are all possible outcomes of a flashing failure that goes unaddressed. And because the entry point and the visible damage are rarely in the same place, it takes a trained eye to trace the problem back to its source. A stain near a bedroom window might have nothing to do with the window—it could be tracing back to chimney flashing 10 feet away.
We know discovering something like that can be stressful. That’s exactly why understanding your flashing is so valuable—because the more you know, the earlier you can catch it.
Where Is Flashing Installed on a Roof?
Flashing appears wherever the roof surface is interrupted or where two planes meet. There are several distinct types, each designed for a specific location and purpose.
Step Flashing
Step flashing is used where the roof surface meets a vertical wall—the side of a dormer, a bump-out, or where a lower roof connects to a second story. It’s made up of individual L-shaped metal pieces, each layered under a shingle and overlapping the one below it, similar to fish scales. This stepped arrangement channels water consistently downward and away from the wall, keeping it from slipping into the gap between the roof and the structure.
Counter Flashing
Counter flashing is installed over step flashing, typically embedded in the mortar joints of a masonry surface, such as a chimney, or fastened directly to a wall. It acts as a cap—a second layer of defense that prevents water from working its way behind the step flashing from above. Together, step flashing and counter flashing form the standard two-layer system used around chimneys and vertical walls.
Chimney Flashing
Chimney flashing is arguably the most complex flashing job on any residential roof. A chimney penetrates the roof at an angle, expands and contracts with temperature changes, and is exposed to combustion byproducts that can accelerate material degradation. A properly flashed chimney typically involves:
Base flashing at the front (low) side
Step flashing along both sides, integrated with the shingles
Counter flashing embedded into the chimney mortar
A cricket or saddle—a small peaked structure built behind the chimney on steeper-pitch roofs to divert water around it
Any one of these elements installed incorrectly can result in a leak, which is why chimney flashing is one of the most common areas requiring roof repairs.
Apron Flashing
Apron flashing—sometimes called base flashing—is an L-shaped piece installed at the base of a wall or penetration, and it can run up to 14 feet in length to fit the full base of a structure like a dormer. It works by redirecting any water that would otherwise leak between the siding and the roofing material, channeling it safely down to the shingles or underlayment below.
Valley Flashing
Roof valleys are the V-shaped channels where two slopes meet. Because they concentrate water from a wide surface area into a single channel, valleys carry significant volumes of water during any rainstorm. Valley flashing—usually a continuous strip of metal running the full length of the valley—protects the seam at the base of that channel and ensures water flows efficiently toward the gutters rather than pooling or backing up.
Drip Edge Flashing
Installed along the eaves and rakes (the outer edges of your roof), drip edge flashing is an angled metal strip that guides water off the roof edge and into the gutters. Without it, water can wick back under the shingles, rotting the fascia board and roof deck. Missing drip edge is one of the most common code violations found during home inspections—and one of the most overlooked during installation.
Vent Pipe Flashing
Every plumbing vent, exhaust pipe, and similar penetration through your roof needs its own flashing collar. These are typically pre-formed metal pieces fitted around the pipe, secured against the roof surface, and sealed with a rubber boot at the collar. The rubber is the weak link—it degrades over time from UV exposure and temperature cycling, and cracked rubber boots are among the most frequent sources of slow, persistent leaks.
Kickout Flashing
Kickout flashing is small, easy to miss, and critically important. It’s installed at the very bottom of a roof-wall intersection, right where the step flashing ends and a gutter begins. Its job is to redirect water flowing along that wall junction out into the gutter—rather than letting it run behind the gutter and down the siding. When kickout flashing is missing, water infiltrates behind the siding at the base of the wall and can go completely undetected for years, quietly rotting the sheathing and framing behind your exterior walls.
Flashing Type
Location
Primary Risk If Missing
Step Flashing
Roof-to-wall intersections
Water intrusion behind siding/wall
Counter Flashing
Over step flashing at walls/chimneys
Water seeping behind step flashing from above
Chimney Flashing
All four sides of chimney base
Leaks at one of the most vulnerable roof points
Apron/Base Flashing
Base of walls, dormers, penetrations
Water infiltrating behind siding at base
Valley Flashing
Where two roof slopes meet
High-volume water infiltration at the seam
Drip Edge
Roof eaves and rakes
Rot to fascia board and roof deck edge
Vent Pipe Flashing
Around pipes and vents
Slow leaks from degraded rubber boots
Kickout Flashing
Base of roof-wall at gutter
Hidden water damage behind siding for years
Can a Roof Leak Without Flashing?
Yes—and faster than most homeowners realize.
A roof missing flashing at any vulnerable point has unprotected entry points just waiting for the next rainstorm. Even if the shingles are brand new and in perfect condition, water will find the unsealed seams around chimneys, valleys, vent pipes, and wall intersections. It’s not a question of if—it’s a question of when and how much damage accumulates before someone notices.
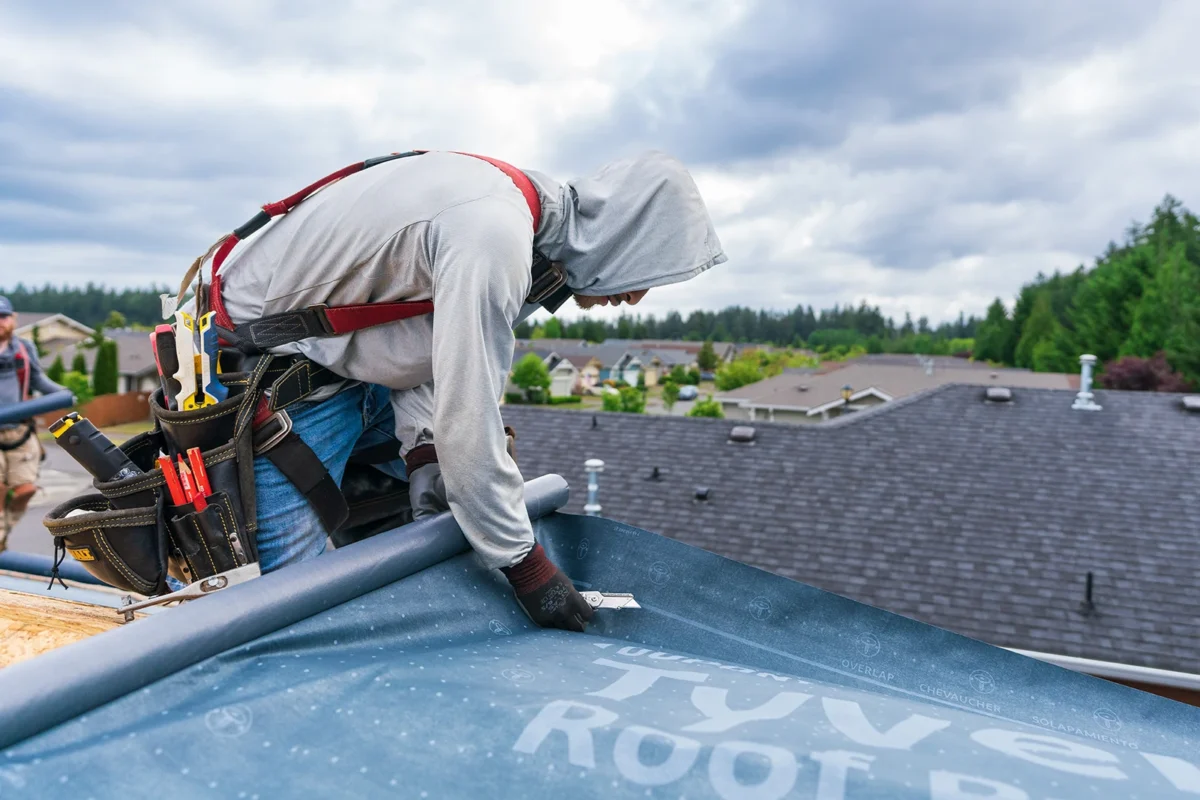
This is also why proper flashing matters so much during a roof replacement. A surprisingly common shortcut among less careful contractors is installing new shingles over old, deteriorated flashing. The roof looks brand new from the street, but the underlying flashing—already past its reliable service life—continues to fail beneath it. If you’re getting bids for a new roof, ask specifically how the contractor plans to handle existing flashing. A reputable roofer will inspect it, replace what’s needed, and document it.
What Happens When Roof Flashing Is Damaged or Missing?
The consequences of failing or absent flashing don’t happen all at once—they build. Here’s a realistic picture of what that progression looks like, and why acting early makes such a meaningful difference:
Early Stage: Water begins entering the roofing system at a vulnerable seam. There are no visible signs inside the home yet. Moisture soaks into the insulation and begins to wick into the wood framing. This stage can go on for weeks or months without any obvious symptoms.
Middle Stage: A water stain appears on a ceiling or interior wall. Musty odors develop in the attic or upper floors. Insulation begins to lose effectiveness as it becomes saturated, and early-stage mold may begin to form in low-visibility areas.
Late Stage: Wood rot spreads through rafters, wall framing, or sheathing. Mold colonies become established and may require professional remediation. In severe cases, structural integrity is compromised—and what could have been a targeted flashing repair becomes a partial or full roof replacement, along with repairs to interior drywall, insulation, and framing.
There’s also a secondary effect worth noting: compromised insulation from water damage directly increases your heating and cooling costs. A flashing failure isn’t just a roofing problem—it affects your energy bills, your indoor air quality, and potentially your home’s resale value. Addressing it early is always the more affordable—and less stressful—path.
How Do You Know If Your Roof Flashing Is Failing?
The tricky part about flashing failures is that they rarely look like obvious roof damage at first. They tend to masquerade as other problems—a small ceiling stain, a faint musty smell, a little peeling paint. Here are the signs to watch for, both inside and outside your home.
Signs Inside Your Home
Water stains or discoloration on ceilings, especially near chimneys, skylights, or exterior walls
Peeling or bubbling paint on interior walls adjacent to roof penetrations
Musty odors in the attic or on upper floors
Visible mold or dark staining in the attic, particularly near eaves or along rafters
Signs Outside Your Home
Rust or dark streaking running down from metal flashing areas
Visible gaps between flashing and the surface it’s sealing
Flashing that has pulled away from a chimney, wall, or vent pipe
Buckled, bent, or missing sections of metal flashing
Cracked, dried, or missing caulk along flashing edges
Moss or algae growth concentrated near valleys or wall junctions—a sign moisture is consistently sitting there
Flashing Materials: Why the Choice Matters
Not all flashing is the same, and the material used can significantly affect how long it performs and how well it integrates with the rest of your roofing system.
Galvanized Steel is the most commonly used material in residential roofing. It’s coated in zinc to resist corrosion, durable under most weather conditions, and cost-effective. Its main vulnerability: if the zinc coating is scratched during installation or wears away over time, the underlying steel can begin to rust—particularly in harsh or coastal environments.
Aluminum is lightweight, easy to form around complex shapes, and corrosion-resistant in most settings. It’s a solid choice for many residential applications. One important note: aluminum reacts chemically when in direct contact with concrete or masonry, which makes it a less-than-ideal choice for chimney flashing in some installations, where galvanized steel or copper is preferable.
Copper is the premium option. It’s naturally corrosion-resistant, develops a protective patina over time, and unlike aluminum, it works exceptionally well in contact with masonry—making it a particularly strong choice for chimney flashing. When properly installed, copper flashing can last far longer than other materials. It’s more expensive than the alternatives, which is why it tends to appear on higher-end homes or historical restorations—but for homeowners planning to stay in place long-term, it’s an investment worth considering.
The right material depends on your climate, the specific flashing location, and compatibility with adjacent materials. A knowledgeable roofer will thoughtfully select and match materials—not just grab whatever’s most convenient on the truck.
The Bottom Line: Small Part, Major Consequences
Roof flashing doesn’t make the highlight reel. It’s not the part of a roofing project that gets photographed for the brochure or admired from the driveway. But it’s arguably the most consequential component in whether your roof actually does its job—because properly installed flashing can prevent the vast majority of water intrusion issues that develop around roof penetrations.
You’ve already done the right thing by learning about it. The next step is to make sure someone gives your roof the same attention you’ve just given this topic.
Ready to Make Sure Your Flashing Is Doing Its Job? Let’s Talk.
At Lacey Roofing, we’ve been taking care of local roofs since 1979—and we’re still family owned, still locally operated, and still as committed to getting the job done right as we were on day one. Our reputation? We like to think it’s watertight.
We know that figuring out what’s going on with your roof can feel overwhelming—especially when the problem isn’t obvious, and the stakes feel high. That’s where we come in. Whether you’ve noticed a stain you can’t explain, you’re planning a roof replacement and want to make sure it’s done properly, or you simply haven’t had your flashing inspected in a while, we’d love to help. We’ll take an honest look, walk you through exactly what we find, and give you clear options—no pressure, no runaround, no surprises.
Your next step is easy:Contact Lacey Roofing to schedule your inspection or ask a question. We’re here, we’re knowledgeable, and we’re genuinely glad you reached out.
We’re going to walk through everything: what makes your roof vulnerable, which components fail first, what warning signs to watch for, and exactly what steps to take to protect your home and your family.
Understanding what moss does, how it affects homeowners insurance, and what your options are can help you make informed decisions before damage escalates.
Experiencing a roof leak during heavy rain can be stressful, especially in Western Washington where storms can last for hours or even days. What begins as a small ceiling leak can quickly turn into widespread water damage if the situation is not handled properly. Knowing how to respond in the moment, what risks to watch for, and what steps to take next can make a meaningful difference in protecting your home, your belongings, and the people inside it. This guide walks through what homeowners should know, what actions to take, and when it is time to call a professional.
Immediate Actions to Take When You Notice a Roof Leak
When water starts entering your home, your first priority should be safety and damage control. Children and pets should be moved away from the affected area as soon as possible. Water and electricity do not mix, so if the leak is near light fixtures, outlets, or appliances, turning off power to that area of the home is a smart precaution.
Containing the water helps limit the spread of damage. Buckets, towels, and plastic sheeting can be used to catch dripping water and protect floors. Furniture, electronics, rugs, and any outdoor furniture stored indoors should be moved out of the damaged area if it can be done safely. Acting quickly matters because water does not stay confined to one visible spot. It can travel along framing, soak into insulation, and spread behind walls before signs appear inside the home.
Is It Safe to Stay in the House During a Roof Leak?
In many situations, it is safe to remain in the home while managing a roof leak, but there are clear warning signs that should not be ignored. Water near electrical systems, large amounts of water pooling overhead, or ceilings that appear to be sagging increase the risk of injury and structural failure.
If a ceiling shows signs of bulging or cracking, that can indicate trapped water and the potential for collapse. In those cases, it is safer to stay out of the room entirely. Severe storm damage or leaks affecting major structural areas may require temporarily leaving the home. Smaller, controlled leaks that are isolated and actively managed are often safe to monitor, as long as conditions do not worsen.
Common Reasons Roofs Leak Only During Heavy Rain
Some roofs only leak during intense storms, which can make problems difficult to detect ahead of time. Wind-driven rain can force water under shingles or into seams that remain dry during light rainfall. Flashing around chimneys, vents, skylights, and wall intersections is another common weak point. When flashing ages, loosens, or corrodes, heavy rain exposes those vulnerabilities.
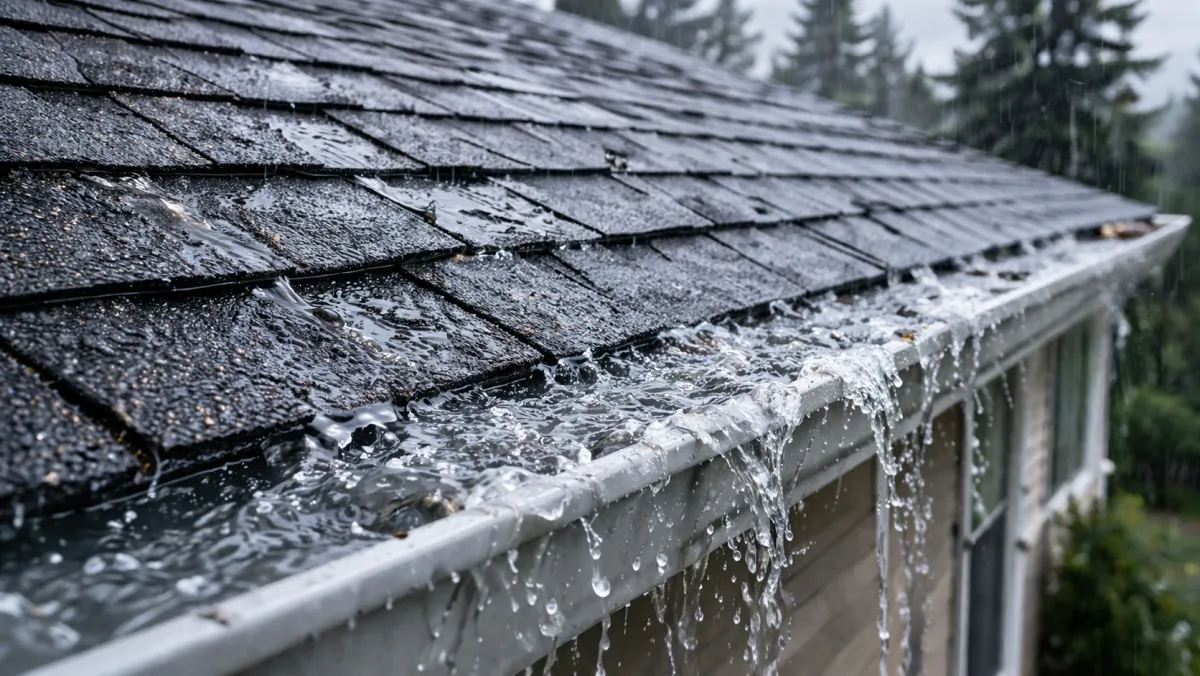
Gutter issues also play a major role. When gutters are clogged or damaged, water can overflow and back up beneath roofing materials. Over time, this leads to roof damage that only becomes apparent during prolonged or heavy rain events.
How to Temporarily Stop a Roof Leak in Heavy Rain
Temporary fixes are meant to slow water intrusion, not to permanently solve the problem. Inside the home, redirecting water into containers and protecting nearby surfaces can help limit water damage. In cases where water has pooled in a ceiling and caused sagging, carefully releasing the trapped water can prevent a larger collapse and reduce further damage.
Attempting exterior repairs during active rain is unsafe and should be avoided. Wet roofing materials, high winds, and reduced visibility create serious fall risks. Temporary fixes should only be considered a short-term measure until a roof inspection can be completed.
Should You Put a Tarp on a Leaking Roof in the Rain?
Tarping your roof is often discussed as a solution, but it comes with limitations. Installing a tarp during heavy rain is dangerous and often ineffective without proper tools and experience. Professional roofing crews are trained to tarp roofs safely and secure the material in a way that protects the damaged area without creating new problems.
Tarping is most effective after rain has stopped or when conditions improve. When done correctly, it can help reduce further storm damage while you plan for roof repair or replacement.
How Long Can a Roof Leak Cause Damage Before Repairs Are Made?
Water damage begins quickly. Within a few hours, drywall and insulation can become saturated. Within a day or two, the risk of mold growth increases, particularly in Western Washington’s damp climate. If a roof leak continues unchecked, moisture can weaken framing and lead to structural damage.
The longer water is allowed to remain inside the roofing system or home, the more extensive and expensive repairs typically become. Even leaks that appear minor can cause significant hidden damage over time.
How Long Will a Roof Leak Continue After the Rain Stops?
It is common for a roof leak to continue even after rainfall ends. Water often becomes trapped within roofing materials, insulation, and framing. As it slowly drains, dripping can persist for hours or longer. In some cases, leaks may appear to worsen after the storm because water has found a new path through the structure. This can result in ceiling leaks appearing in areas far from the original damaged area, making professional evaluation important.
How to Properly Dry Out a House After a Roof Leak
Drying out your home thoroughly is a critical step in preventing long-term water damage. Increasing airflow with fans, running dehumidifiers continuously, and ventilating the space when weather allows all help remove moisture. Wet materials should not be covered or sealed too soon, as trapped moisture can lead to mold and odors.
If dampness persists beyond a day or two, or if water damage is widespread, professional drying services may be necessary. Proper drying protects both the structure of the home and indoor air quality.
Inspecting for Hidden Damage After Heavy Rain
Not all damage is immediately visible. Water can travel through insulation, along beams, and behind walls before showing signs indoors. Attics are especially important to inspect, as wet insulation, dark staining, or musty odors can indicate ongoing moisture problems.
A professional roof inspection helps identify hidden issues and ensures that temporary fixes have not masked a more serious underlying problem. Addressing hidden damage early reduces the risk of future leaks and larger repairs.
When to Call a Professional Roofer
If a roof leak occurs during heavy rain, calling a professional is often the safest and most effective option. Repeated leaks, visible roof damage, or leaks that do not stop after drying are all signs that roof repair is needed. A qualified roofing contractor can assess the damaged area, recommend appropriate roofing materials, and explain repair or replacement options clearly. Professional roofing also matters for documentation. Proper inspections and repair records can be useful for insurance claims and future maintenance planning.
Preventing Future Roof Leaks During Heavy Rain
Preventive maintenance is one of the best ways to reduce the risk of future leaks. Regular roof inspections, gutter cleaning, and addressing moss or debris buildup help maintain proper water flow. In Western Washington, keeping gutters clear is especially important during long rainy seasons.
Upgrading aging roofing materials or improving flashing details can also improve a roof’s ability to handle heavy rain. Preventive care often costs less than emergency repairs caused by storm damage.
Final Thoughts
A roof leak during heavy rain is more than an inconvenience. It is a warning sign that moisture is entering areas where it does not belong. Acting quickly, staying safe, drying thoroughly, and scheduling a professional roof inspection are key steps in protecting your home. Temporary fixes may slow damage, but long-term solutions require proper evaluation and repair.
About Lacey Roofing
Lacey Roofing has been serving homeowners throughout Western Washington since 1979. As a family-owned and locally operated roofing contractor, the company understands the region’s weather challenges and how they affect roofs over time. Services include roof repair, roof replacement, gutter cleaning, and gutter repair, all performed with a focus on workmanship and customer satisfaction.
If you are dealing with a roof leak, storm damage, or concerns about your roof’s condition, the next step is to speak with a professional. Contact Lacey Roofing to schedule a roof inspection, discuss repair options, and get clear guidance on how to protect your home moving forward.
Whether building a new home or renovating an old one, choosing the right roofing material is more important than many realize. Climate affects how long a roof lasts, how well it protects your home, and how much you spend on energy and maintenance. For instance, if you live in Western Washington, it’s critical to choose a roof that can stand up to heavy moisture, rather than one more suited to dry heat. Roofing materials add up to more than just aesthetics; many homeowners don’t realize the variation in strengths between materials.
So, which material will work best for your climate? How do you know? In this guide, we’ll take a look at how different weather conditions influence roofing performance, which roof material works best where you live, and what to consider before a roof replacement. Let’s dive in!
Why Climate Defines Roofing Performance
Each roofing material has its own unique strength. Temperature shifts, humidity, rainfall, and sunlight exposure all affect them differently. A roof that stands up well to the constant beating of the sun might lose its integrity in a cold, icy climate. One that’s well-suited for moisture can rip right off in an extremely windy place. To put it simply, the climate puts a strain on your roof, and some are better suited for certain weather conditions than others. So which materials work best for which climates?
Hot and Dry Climates
Roofs must withstand intense sunshine and UV exposure while keeping living spaces cool. Ideal materials include metal roofing with reflective coating, clay tile, and light colored shingles that reflect sunlight to improve energy efficiency.
Hot and Humid and Coastal Climates
Moisture and salt exposure accelerate corrosion. Roofing for a coastal home should be algae-resistant and built to handle high winds. Metal roofing with protective finishes, synthetic materials, or treated asphalt shingles are a common choice.
Cold and Snowy Climates
Roofing must support snow loads and resist freeze-thaw cracking. The best options include metal roofing that sheds snow easily and slate or composite materials known for long-term durability in cold climates.
Windy and Storm-Prone Regions
Look for roofing with strong wind uplift ratings. Interlocking metal panels or high grade architectural shingles are preferred.
Mild and Rain-Dominant Climates like Western Washington
Heavy rainfall causes moss growth, leaks, and moisture damage. A roof must drain efficiently and handle year round moisture. Algae resistant asphalt shingles, metal roofing, and composite materials are commonly recommended.
Common Roofing Materials Compared
Material
Strengths
Climate Best Suited For
Considerations
Asphalt shingles
Affordable and easy to install
Mild or moderate climates
Requires regular maintenance in wet regions
Metal roofing
Fire safe, corrosion resistant, reflects sunlight
Hot climates, coastal areas, cold climates with snow
Higher upfront investment
Clay and concrete tile
Long life span and heat resistance
Hot and dry climates
Heavy and may require structural support
Wood shakes and shingles
Natural appearance
Dry regions
Not ideal for humid areas due to mold risk
Slate roofing
Very durable and low maintenance
Cold and snowy climates
Expensive, heavy installation
Composite and synthetic roofing
Versatile looks and weather resistance
Wide range of climates
Quality varies by manufacturer
How to Evaluate Your Roof for Harsh Weather
In order to get the most out of your roof, it’s important to know all the stats. Homeowners often overlook testing for the wind uplift ratings required in their region. The roof should be designed to resist impact from hail, falling branches, or other debris that storms can bring. Aside from storm damage prevention, Washington’s moist atmosphere is a persistent concern. Algae and mold prevention is a must here in our beautiful home state. A durable and well-sealed underlayment helps protect against leaks when extreme weather pushes water under the roof surface. Finally, make sure you have adequate ventilation, since trapped heat or moisture can weaken roofing materials and reduce energy efficiency.
Longevity Expectations Per Roofing Type
The average lifespan of a roof varies depending on weather exposure and the material installed. Standard asphalt shingles typically last between 15 and 25 years, although heavy rainfall and constant moisture can shorten that timeline in certain regions. Metal roofing can last anywhere from 40 to 70 years when the surface is properly coated and maintained. Clay tile and slate roofs typically last about 50 years with minimal structural deterioration.
However, these lifespan estimates are based on the expectation that you’ll consistently maintain your roof. No matter what material you choose, it won’t last without at least minimal upkeep. Tasks such as cleaning gutters, preventing moss buildup, and checking flashing for potential leaks will help extend the useful life of roofing materials and protect the home from avoidable damage.
Energy Efficiency and Environmental Considerations
Your roof plays a bigger role in the energy efficiency of your home than you might think. In sunny regions, light colored materials or those with a reflective coating help reflect sunlight and reduce heat absorption, lowering cooling costs during hot weather. In colder climates, having proper insulation beneath the roofing structure means keeping the heat indoors and preventing energy loss through the roof. You may also want to consider how well your roof supports solar panels if renewable energy is a current or future goal. Additionally, roofing materials that are made from recycled materials or that can be recycled at the end of their life, of course, have less of a negative impact on the environment.
Local Codes and Contractor Expertise
Working with a local roofing contractor who understands these regional codes ensures that the roofing material and installation methods meet current standards for safety and performance. Local expertise also helps prevent issues such as improper insulation in roof assemblies, inadequate moss and moisture protection, or incorrect fastening patterns for wind uplift resistance. In the Lacey region, roofing work must follow Washington State building and energy codes, which include requirements for proper ventilation, structural load, and moisture control due to the area’s wet climate. Knowledge of local permitting guidelines and inspection expectations supports a smoother project and contributes to a roof that remains reliable throughout our changing seasons.
Western Washington Spotlight
Best Roofing Materials for the Evergreen State
Western Washington receives constant rain, moisture-rich coastal air, and seasonal storms, which means homeowners need roofing that performs well in wet conditions year-round. Asphalt shingles that include algae resistance, corrosion-resistant metal roofing with protective finishes, and durable composite products designed specifically for high rainfall climates are among the best-performing options in this area.
How Maintenance Plays a Role
Because moss growth and water intrusion can become problems more quickly here than in drier regions, staying proactive with care is essential. Scheduling annual roof inspections, keeping gutters and downspouts clear for proper drainage, treating the roof to prevent moss buildup, and addressing any storm damage as soon as it appears all help extend the life of the roof and maintain its protective strength. Western Washington homes benefit greatly from roofing professionals with extensive knowledge of the region’s weather challenges and maintenance needs.
Why Western Washington Chooses Lacey Roofing
Lacey Roofing is family-owned and operated in Western Washington, serving the community since 1979. Our team is knowledgeable about coastal climate roofing challenges, including heavy rainfall, moss control, and corrosion prevention. We provide dependable roof replacement, repairs, and regular maintenance to protect your property all year.
If you are exploring materials for your climate or planning a roof replacement, we are here to help. Contact Lacey Roofing today to discuss the best options for your home and receive a service you can rely on, backed by our satisfaction guarantee.
Winter in Western Washington is no joke. Rain fall constantly, temperatures dip low, and roofs have to work hard to keep everything (and everyone) protected inside. But here’s the part many people miss: it’s not always the roof itself that causes winter leaks; it’s often the clogged gutters.
If your gutters aren’t draining properly, they can trap snow, ice, and water right where you don’t want it: on the edge of your roof. That’s when things get messy. This article breaks down exactly how clogged gutters lead to winter leaks, what you can do to stop them, and why it’s smart to get ahead of these issues before they turn into costly repairs.
What Happens to Gutters in Winter?
Your gutter system is designed to move water safely away from your roof and home. In warmer seasons, this happens smoothly, but winter changes everything.
Snow, Ice, and Freeze-Thaw Cycles
As snow melts and refreezes, the water inside your gutters can get stuck. Debris like leaves, twigs, and roof grit clog up the flow. Then, temperatures drop overnight, turning standing water into ice. The cycle repeats, melting by day, freezing at night, until your gutters are jammed solid.
Why Gutters Are More Vulnerable in Cold Weather
Unlike spring or fall, winter doesn’t allow for quick drainage. Blocked gutters turn into icy dams that trap moisture. Even if your gutters look okay, ice buildup inside them may be quietly setting the stage for a bigger problem.
The Link Between Clogged Gutters and Roof Leaks
When gutters can’t flow freely, that water starts searching for another exit. Unfortunately, the next stop is often your roof, your attic, or your walls. The water has to go somewhere, after all. Overflow from blocked gutters tends to back up under your shingles. Over time, this water can sneak past roofing materials and start to affect the roof decking below.
This trapped water can damage roof decking and insulation. Water intrusion may not show up right away, but it starts working silently by rotting wood, soaking attic insulation, and setting the stage for mold. By the time you see a leak indoors, the damage underneath is already well underway.
Ice Dams and Blocked Gutters are a Bad Winter Combo
What’s an Ice Dam and Why It Forms
An ice dam is a ridge of solid ice that forms at the edge of your roof, preventing melting snow from draining off. Instead of flowing into your gutters, the water backs up behind the dam and seeps under your shingles. That’s where leaks begin.
How Clogged Gutters Accelerate Ice Dam Formation
Clogged gutters are the trigger points for ice dams. When water can’t drain, it pools and freezes, making it much easier for ice dams to form and grow. Add in a poorly insulated attic, and you’ve got a recipe for serious winter roof trouble.
Other Parts of Your Home Are at Risk Too
Fascia and Soffits Take a Hit
Overflowing water can rot the wooden fascia boards and soffits that frame your roof. This kind of slow, hidden damage often leads to bigger repair jobs down the line.
Water Can Soak Into Siding and Walls
Water spilling over the side of clogged gutters can run down your siding. If it finds a weak spot, like an unsealed seam or cracked caulk, it may sneak into your walls and insulation.
Foundation Trouble From Gutter Overflow
Here’s something most people overlook: clogged gutters can cause water to pool near your foundation. Over time, this moisture can crack concrete, cause shifting, or lead to basement leaks, especially in freeze-thaw climates like ours.
Signs Your Gutters May Be Clogged or Failing
Don’t wait for water stains on the ceiling to tell you something’s wrong. Here’s what to watch for:
Water spilling over the edge of your gutters
Icicles forming along the roofline
Sagging gutters or visible debris
Stains or moss growing on siding beneath gutters
Interior signs of moisture, like peeling paint or musty smells
Why Winter Gutter Clogs Are Harder to Spot
Out of sight, out of mind, especially in winter. But just because you can’t see a clog doesn’t mean it’s not there. Frozen leaves and ice can mask major obstructions. You might not realize your gutters are clogged until snowmelt starts backing up under your shingles.
When and How to Clean Gutters Before Winter Hits
Ideal Timeline for Fall Gutter Cleaning
Late fall, after the leaves have dropped but before the first major snowfall, is the sweet spot for cleaning your gutters. Waiting too long can let ice take hold, making the job harder and riskier.
DIY vs. Professional Gutter Maintenance
Some homeowners clean gutters themselves, but winter adds another layer of danger. If your roof is steep or you’re unsure of what you’re doing, hire a professional. A trained crew can safely clear blockages, inspect the system, and recommend any repairs.
Why Pre-Winter Is the Most Important Cleaning of the Year
You want to prevent ice dams, not fight them once they’ve formed. That means making sure your gutters are clear before snow and freezing temperatures lock everything in place.
Gutter Guards and Drainage Add-Ons
Gutter guards cover the tops of your gutters, keeping out leaves and debris. When installed properly, they reduce the chances of blockages that lead to ice dam formation. Downspouts should direct water at least five feet away from your home’s foundation. If water pools near your house, that’s a sign something’s off.
What to Do If You Suspect Water Is Getting In
First Signs of Trouble Inside the House
Act fast, because winter leaks don’t wait. If you spot any of these symptoms, it’s in your best interest to speak to a professional sooner rather than later.
Brown stains on ceilings or walls
A sudden draft or drop in room temperature
Wet attic insulation or a damp smell upstairs
Temporary Fixes vs. Long-Term Solutions
Tarping or patching may buy you some time, but they’re not permanent fixes. If you’re dealing with recurring winter leaks, it’s time to schedule a roof repair and gutter inspection.
Stay Ahead of Winter Leaks
Clogged gutters in winter aren’t just a minor nuisance. They’re often the root cause of roof leaks, ice dams, siding damage, and even foundation problems. The good news? They’re also one of the easiest issues to prevent.
Cleaning your gutters once in the fall, and again if needed before heavy snowfall, can save you thousands in costly repairs. And if you’re unsure about what’s going on up there, a professional inspection can offer peace of mind.
Why Homeowners in Thurston County Choose Lacey Roofing
At Lacey Roofing, we are your local roofing professionals with more than 40 years serving Western Washington. We understand how the Pacific Northwest’s wet weather and seasonal conditions challenge roofs, gutters, and building exteriors. From comprehensive roof installations and replacements to repairs, cleaning, and emergency services, our team is ready to help you protect your property and maintain its long-term value.
Lacey Roofing combines deep local experience with skilled crews who treat your home with respect and focus on delivering quality workmanship backed by licensed, bonded, and insured service. We offer free estimates and prompt evaluations for roofing or gutter concerns so you can address potential issues before they lead to more costly damage.
Call today or contact us online to schedule an inspection and ensure your roof and gutters are ready for whatever the season brings.