Roll Roofing Installation Checklist for Homeowners

If you’re planning a roll roof installation on your home, shed, or garage, you’re in the right place. Western Washington weather delivers months of rain, wind, moss growth, and general moisture, so a roofing material that seems simple on paper still deserves careful handling in practice. The goal of this guide is to give you a clear picture of how this type of project works so you feel confident in your next steps, whether you decide to install roll roofing yourself or call in a local roofing contractor.
What Is Roll Roofing in Western Washington?
Roll roofing is a single-layer asphalt product available in long sheets. It is commonly used on low-slope structures, detached garages, and additions where full multi-layer roofing shingles are not necessary. In our region, steady rainfall demands precise installation and correct overlap. Performance depends heavily on drainage, pitch, and secure sealing at the edge of the roof. You do not need to complete any technical roofing tasks yourself, but knowing why your contractor measures slope, selects specific materials, and seals flashing will help you follow their recommendations with clarity.
Local digital codes premium requirements dictate minimum slope and fastening patterns, and your contractor will confirm compliance before work begins. If your existing roof does not meet slope minimums, adjustments may be advised for long-term durability.
Preparing Before the Installation
Your contractor will bring all the necessary materials for the job, but you can support them by preparing the space around your home. Clear driveways and side yard access points so crews can carry rolls, ladders, and flashing safely. Trim overhanging branches if they touch or scrape the roof edges. Remove vehicles, lawn equipment, or patio items from the work perimeter. If you have pets, plan for indoor time or alternate outdoor access so the crew can move freely.
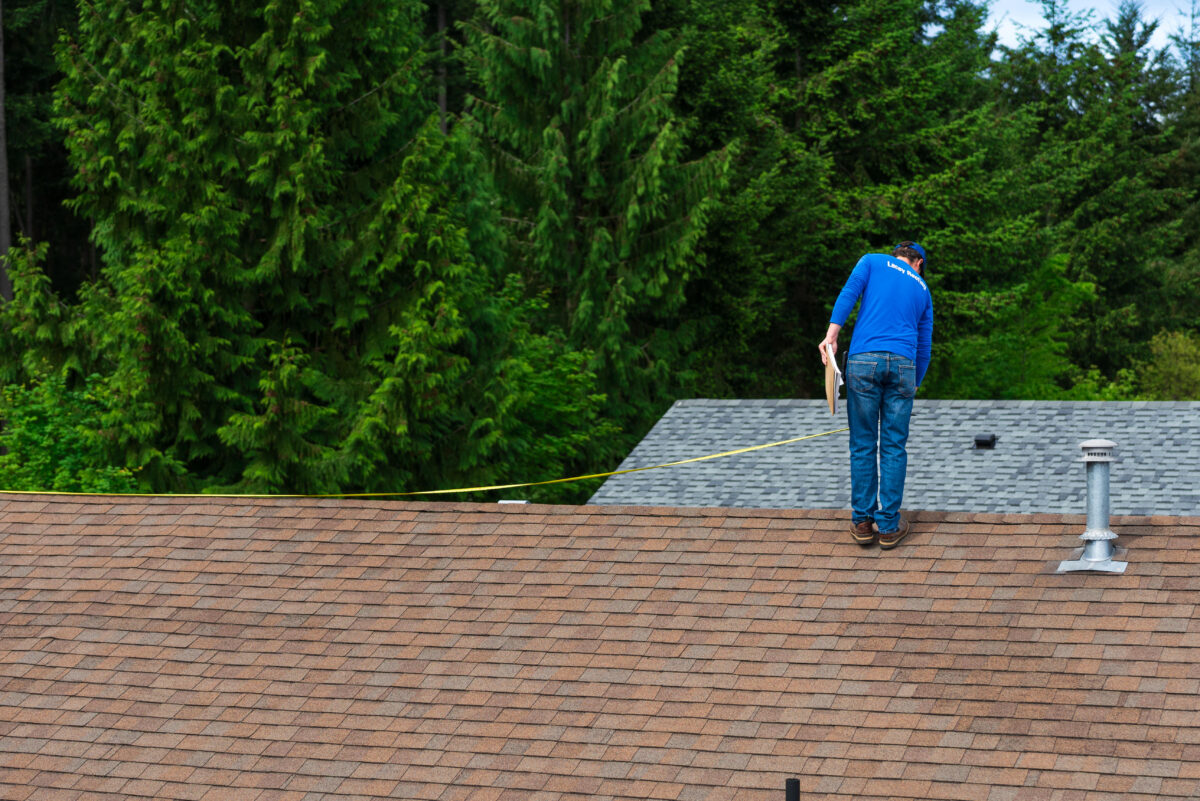
What the Professionals Do Before Installation Starts
On the day of installation, the roofing team will inspect the decking to check for soft areas, moisture exposure, or prior patch work. If weak sections are found, they will be reinforced or replaced before any roofing material is installed. Moss, needles, and debris common in Western Washington will be cleared to allow clean adhesion. Gutters may be cleaned if overflow is present, since pooled water around the edge of the roof can undermine fresh material. Underlayment is typically installed to support drainage and reduce condensation transfer to decking. Your role here is simply to ensure access and stay available if the crew needs to discuss hidden structural conditions.
Drip Edge, Flashing, and Waterproofing
Drip edge installation is one of the earliest steps. It protects the starter course of roll roofing and channels water off the edge rather than letting it travel backward beneath the surface. If existing flashing around vents, chimneys, or skylights is rusted or bent, your contractor may recommend replacement for full waterproofing.
Flashing must be placed beneath upper sections and over lower edges to guide water correctly. Roofing cement is applied where components meet to create a watertight bond. You do not need to handle any of this sealing, but you may want to ask your contractor to show you the points where flashing has been reinforced so you understand how each component prevents leaks.
The Installation Itself
Once the surface is prepped, your roofing team will lay the first sheet with a slight overhang at the drip edge, fasten it securely, and apply extra overlap to suit Western Washington’s heavy rain. Each following layer is rolled out and aligned to the one below it, with seams sealed and staggered for stronger weather resistance. At the end, edges, vents, and corners are carefully sealed with roofing cement so water drains cleanly rather than working its way underneath, giving you a fully watertight system built to handle the region’s long wet seasons.
Post Installation Review
After installation is complete, the crew will review the entire surface. They’ll check for raised edges, bubbles, or visible fasteners. They will confirm that the drip edge is performing correctly and that flashing is integrated securely. If rain is expected soon, this inspection is especially important. You may be asked to observe water movement during the next storm to verify drainage. If anything looks uneven or if water hesitates along the path, simply notify your contractor.
Long-Term Care
Roll roofing benefits from seasonal debris removal. Clearing needles, moss, and leaves from gutters and valleys helps drainage and extends lifespan. While roll roofing is not as maintenance-heavy as layered shingles, consistent moisture requires watchfulness. If you notice lifting, drying, or small edge separations, calling in your local roofers for a quick repair can prevent the spread of damage before it becomes an expensive hassle.
Final Thoughts
By preparing your home ahead of installation and understanding what your contractor will handle on your behalf, you set the stage for a smooth and effective roll roof installation. In Western Washington, where rainfall is a constant factor, precise sealing and drainage planning are essential.
Why Trust Lacey Roofing with Your Project?
If you are ready to schedule installation or want a pre-project roof assessment, we’re glad to help. Since 1979, our team has supported homeowners throughout Western Washington with replacement, leak repair, roof cleaning, moss treatment, and storm response. Contact us to schedule an inspection or installation date and let us guide you through each step so your home stays protected through every season.