Roof Flashing: Why It’s One of the Most Important Parts of Your Roof
The short answer: Roof flashing is the thin metal material installed at every vulnerable seam, junction, and transition point on your roof—around chimneys, valleys, walls, vents, and skylights—to prevent water from sneaking into your home. It’s important because, without it, even brand-new shingles can’t stop water from finding its way inside.
When most homeowners think about their roof, shingles are the first thing that comes to mind—and honestly, that makes a lot of sense. Shingles are what you see. They’re what you notice after a storm and what your neighbor compliments after a reroof. But there’s another component doing just as much heavy lifting, quietly and out of sight, and it’s the one that often determines whether your roof actually keeps water out of your home. That component is roof flashing.
Here at Lacey Roofing, we’ve been protecting local homes since 1979. If there’s one thing four-plus decades in the roofing business will teach you, it’s this: a beautiful set of shingles over poorly installed or damaged flashing is a roof that’s already losing the battle. We’ve walked into plenty of attics over the years where the shingles looked fine from the street—but inside, the damage from failed flashing had been quietly spreading for months.
We don’t want that for your home. So let’s walk you through everything you need to know about roof flashing—what it is, where it lives, what happens when it fails, how long it lasts, and how to stay ahead of problems before they become expensive ones.
What Is Roof Flashing, and Why Is It So Important?
Roof flashing is a thin layer of metal—typically galvanized steel, aluminum, or copper—installed at the points on your roof most vulnerable to water intrusion. You’ll find it anywhere the roof surface meets another material or structure: a chimney, a wall, a skylight, a vent pipe, or a valley where two slopes meet.
The concept is straightforward: water always follows the path of least resistance. Wherever two surfaces meet, there’s a seam—and seams are open invitations for water. Flashing bridges those gaps and directs water away from joints, off the roof, and toward your gutters—where it belongs.
Without properly installed flashing, even a brand-new set of premium shingles can’t do its job. Shingles are designed to shed water across broad, continuous surfaces. They were never meant to seal tightly around a chimney base or waterproof the line where your roof meets a dormer wall. That responsibility falls entirely on the flashing, and when flashing is absent or failing, the consequences follow quickly.
Why Flashing Failures Are So Sneaky
One of the most frustrating things about a flashing failure is how quietly it develops. When water sneaks past a failed flashing point, it doesn’t create an immediate, obvious leak—it travels. It seeps through the roof deck, works its way into wall cavities, saturates insulation, and may travel several feet before showing up as a stain on your ceiling.
By the time you see that stain, the damage behind it is often already significant. Wood rot, mold growth, degraded insulation, and compromised structural framing are all possible outcomes of a flashing failure that goes unaddressed. And because the entry point and the visible damage are rarely in the same place, it takes a trained eye to trace the problem back to its source. A stain near a bedroom window might have nothing to do with the window—it could be tracing back to chimney flashing 10 feet away.
We know discovering something like that can be stressful. That’s exactly why understanding your flashing is so valuable—because the more you know, the earlier you can catch it.
Where Is Flashing Installed on a Roof?
Flashing appears wherever the roof surface is interrupted or where two planes meet. There are several distinct types, each designed for a specific location and purpose.
Step Flashing
Step flashing is used where the roof surface meets a vertical wall—the side of a dormer, a bump-out, or where a lower roof connects to a second story. It’s made up of individual L-shaped metal pieces, each layered under a shingle and overlapping the one below it, similar to fish scales. This stepped arrangement channels water consistently downward and away from the wall, keeping it from slipping into the gap between the roof and the structure.
Counter Flashing
Counter flashing is installed over step flashing, typically embedded in the mortar joints of a masonry surface, such as a chimney, or fastened directly to a wall. It acts as a cap—a second layer of defense that prevents water from working its way behind the step flashing from above. Together, step flashing and counter flashing form the standard two-layer system used around chimneys and vertical walls.
Chimney Flashing
Chimney flashing is arguably the most complex flashing job on any residential roof. A chimney penetrates the roof at an angle, expands and contracts with temperature changes, and is exposed to combustion byproducts that can accelerate material degradation. A properly flashed chimney typically involves:
- Base flashing at the front (low) side
- Step flashing along both sides, integrated with the shingles
- Counter flashing embedded into the chimney mortar
- A cricket or saddle—a small peaked structure built behind the chimney on steeper-pitch roofs to divert water around it
Any one of these elements installed incorrectly can result in a leak, which is why chimney flashing is one of the most common areas requiring roof repairs.
Apron Flashing
Apron flashing—sometimes called base flashing—is an L-shaped piece installed at the base of a wall or penetration, and it can run up to 14 feet in length to fit the full base of a structure like a dormer. It works by redirecting any water that would otherwise leak between the siding and the roofing material, channeling it safely down to the shingles or underlayment below.
Valley Flashing
Roof valleys are the V-shaped channels where two slopes meet. Because they concentrate water from a wide surface area into a single channel, valleys carry significant volumes of water during any rainstorm. Valley flashing—usually a continuous strip of metal running the full length of the valley—protects the seam at the base of that channel and ensures water flows efficiently toward the gutters rather than pooling or backing up.
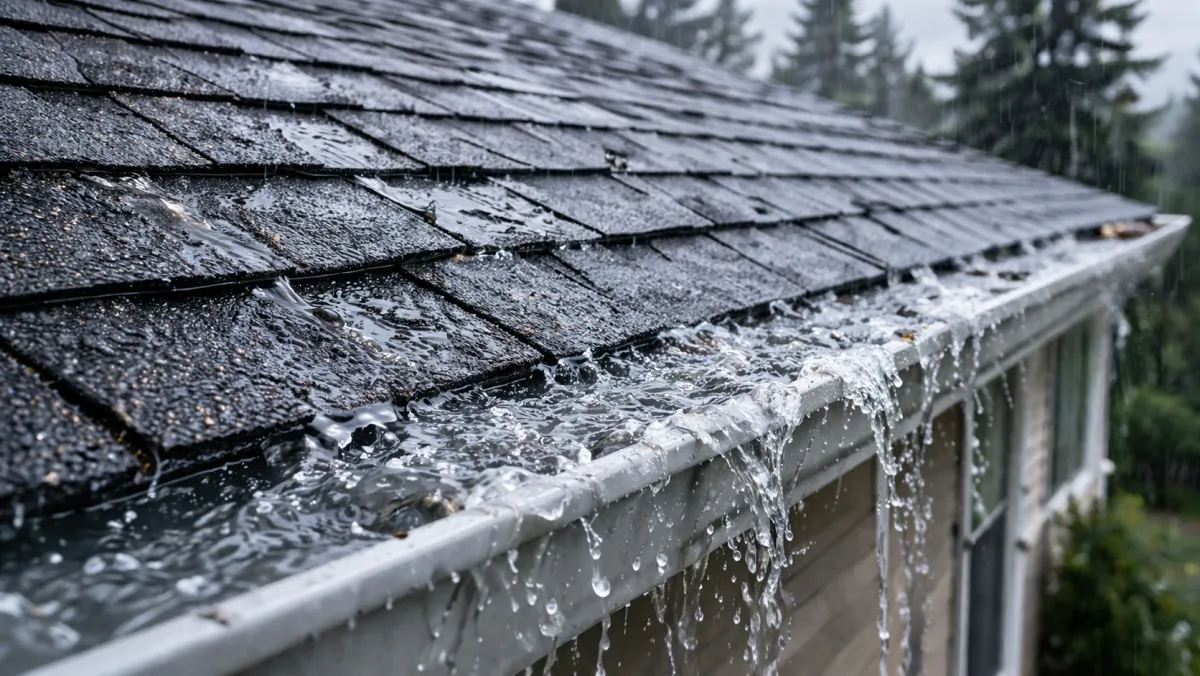
Drip Edge Flashing
Installed along the eaves and rakes (the outer edges of your roof), drip edge flashing is an angled metal strip that guides water off the roof edge and into the gutters. Without it, water can wick back under the shingles, rotting the fascia board and roof deck. Missing drip edge is one of the most common code violations found during home inspections—and one of the most overlooked during installation.
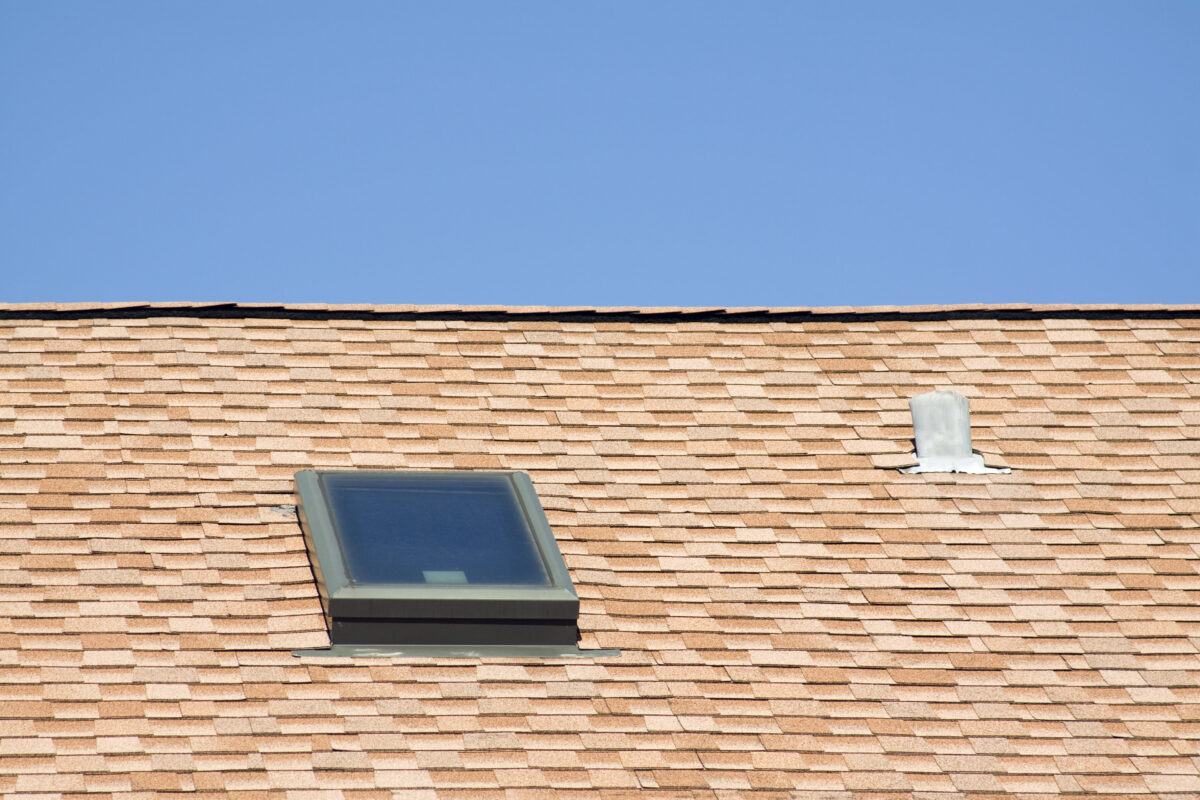
Vent Pipe Flashing
Every plumbing vent, exhaust pipe, and similar penetration through your roof needs its own flashing collar. These are typically pre-formed metal pieces fitted around the pipe, secured against the roof surface, and sealed with a rubber boot at the collar. The rubber is the weak link—it degrades over time from UV exposure and temperature cycling, and cracked rubber boots are among the most frequent sources of slow, persistent leaks.
Kickout Flashing
Kickout flashing is small, easy to miss, and critically important. It’s installed at the very bottom of a roof-wall intersection, right where the step flashing ends and a gutter begins. Its job is to redirect water flowing along that wall junction out into the gutter—rather than letting it run behind the gutter and down the siding. When kickout flashing is missing, water infiltrates behind the siding at the base of the wall and can go completely undetected for years, quietly rotting the sheathing and framing behind your exterior walls.
| Flashing Type | Location | Primary Risk If Missing |
| Step Flashing | Roof-to-wall intersections | Water intrusion behind siding/wall |
| Counter Flashing | Over step flashing at walls/chimneys | Water seeping behind step flashing from above |
| Chimney Flashing | All four sides of chimney base | Leaks at one of the most vulnerable roof points |
| Apron/Base Flashing | Base of walls, dormers, penetrations | Water infiltrating behind siding at base |
| Valley Flashing | Where two roof slopes meet | High-volume water infiltration at the seam |
| Drip Edge | Roof eaves and rakes | Rot to fascia board and roof deck edge |
| Vent Pipe Flashing | Around pipes and vents | Slow leaks from degraded rubber boots |
| Kickout Flashing | Base of roof-wall at gutter | Hidden water damage behind siding for years |
Can a Roof Leak Without Flashing?
Yes—and faster than most homeowners realize.
A roof missing flashing at any vulnerable point has unprotected entry points just waiting for the next rainstorm. Even if the shingles are brand new and in perfect condition, water will find the unsealed seams around chimneys, valleys, vent pipes, and wall intersections. It’s not a question of if—it’s a question of when and how much damage accumulates before someone notices.
This is also why proper flashing matters so much during a roof replacement. A surprisingly common shortcut among less careful contractors is installing new shingles over old, deteriorated flashing. The roof looks brand new from the street, but the underlying flashing—already past its reliable service life—continues to fail beneath it. If you’re getting bids for a new roof, ask specifically how the contractor plans to handle existing flashing. A reputable roofer will inspect it, replace what’s needed, and document it.
What Happens When Roof Flashing Is Damaged or Missing?
The consequences of failing or absent flashing don’t happen all at once—they build. Here’s a realistic picture of what that progression looks like, and why acting early makes such a meaningful difference:
- Early Stage: Water begins entering the roofing system at a vulnerable seam. There are no visible signs inside the home yet. Moisture soaks into the insulation and begins to wick into the wood framing. This stage can go on for weeks or months without any obvious symptoms.
- Middle Stage: A water stain appears on a ceiling or interior wall. Musty odors develop in the attic or upper floors. Insulation begins to lose effectiveness as it becomes saturated, and early-stage mold may begin to form in low-visibility areas.
- Late Stage: Wood rot spreads through rafters, wall framing, or sheathing. Mold colonies become established and may require professional remediation. In severe cases, structural integrity is compromised—and what could have been a targeted flashing repair becomes a partial or full roof replacement, along with repairs to interior drywall, insulation, and framing.
There’s also a secondary effect worth noting: compromised insulation from water damage directly increases your heating and cooling costs. A flashing failure isn’t just a roofing problem—it affects your energy bills, your indoor air quality, and potentially your home’s resale value. Addressing it early is always the more affordable—and less stressful—path.
How Do You Know If Your Roof Flashing Is Failing?
The tricky part about flashing failures is that they rarely look like obvious roof damage at first. They tend to masquerade as other problems—a small ceiling stain, a faint musty smell, a little peeling paint. Here are the signs to watch for, both inside and outside your home.
Signs Inside Your Home
- Water stains or discoloration on ceilings, especially near chimneys, skylights, or exterior walls
- Peeling or bubbling paint on interior walls adjacent to roof penetrations
- Musty odors in the attic or on upper floors
- Visible mold or dark staining in the attic, particularly near eaves or along rafters
Signs Outside Your Home
- Rust or dark streaking running down from metal flashing areas
- Visible gaps between flashing and the surface it’s sealing
- Flashing that has pulled away from a chimney, wall, or vent pipe
- Buckled, bent, or missing sections of metal flashing
- Cracked, dried, or missing caulk along flashing edges
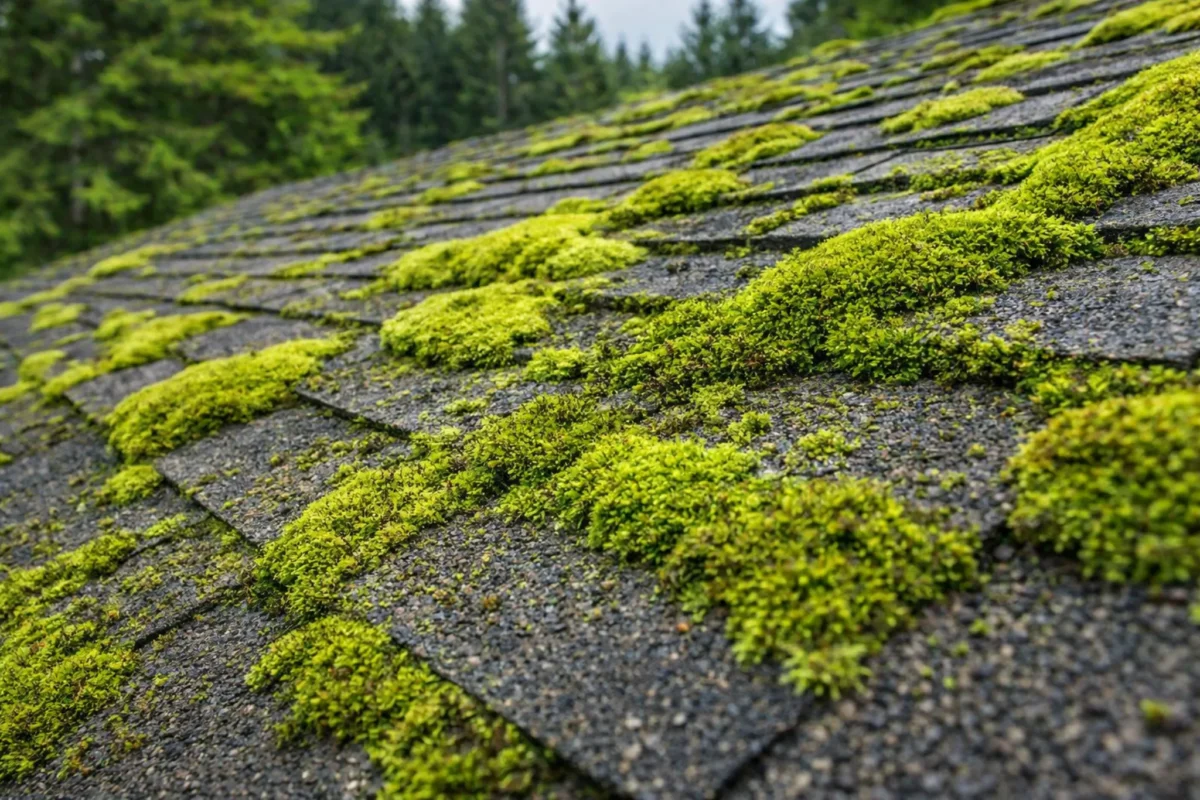
- Moss or algae growth concentrated near valleys or wall junctions—a sign moisture is consistently sitting there
Flashing Materials: Why the Choice Matters
Not all flashing is the same, and the material used can significantly affect how long it performs and how well it integrates with the rest of your roofing system.
Galvanized Steel is the most commonly used material in residential roofing. It’s coated in zinc to resist corrosion, durable under most weather conditions, and cost-effective. Its main vulnerability: if the zinc coating is scratched during installation or wears away over time, the underlying steel can begin to rust—particularly in harsh or coastal environments.
Aluminum is lightweight, easy to form around complex shapes, and corrosion-resistant in most settings. It’s a solid choice for many residential applications. One important note: aluminum reacts chemically when in direct contact with concrete or masonry, which makes it a less-than-ideal choice for chimney flashing in some installations, where galvanized steel or copper is preferable.
Copper is the premium option. It’s naturally corrosion-resistant, develops a protective patina over time, and unlike aluminum, it works exceptionally well in contact with masonry—making it a particularly strong choice for chimney flashing. When properly installed, copper flashing can last far longer than other materials. It’s more expensive than the alternatives, which is why it tends to appear on higher-end homes or historical restorations—but for homeowners planning to stay in place long-term, it’s an investment worth considering.
The right material depends on your climate, the specific flashing location, and compatibility with adjacent materials. A knowledgeable roofer will thoughtfully select and match materials—not just grab whatever’s most convenient on the truck.
The Bottom Line: Small Part, Major Consequences
Roof flashing doesn’t make the highlight reel. It’s not the part of a roofing project that gets photographed for the brochure or admired from the driveway. But it’s arguably the most consequential component in whether your roof actually does its job—because properly installed flashing can prevent the vast majority of water intrusion issues that develop around roof penetrations.
You’ve already done the right thing by learning about it. The next step is to make sure someone gives your roof the same attention you’ve just given this topic.
Ready to Make Sure Your Flashing Is Doing Its Job? Let’s Talk.
At Lacey Roofing, we’ve been taking care of local roofs since 1979—and we’re still family owned, still locally operated, and still as committed to getting the job done right as we were on day one. Our reputation? We like to think it’s watertight.
We know that figuring out what’s going on with your roof can feel overwhelming—especially when the problem isn’t obvious, and the stakes feel high. That’s where we come in. Whether you’ve noticed a stain you can’t explain, you’re planning a roof replacement and want to make sure it’s done properly, or you simply haven’t had your flashing inspected in a while, we’d love to help. We’ll take an honest look, walk you through exactly what we find, and give you clear options—no pressure, no runaround, no surprises.
Your next step is easy: Contact Lacey Roofing to schedule your inspection or ask a question. We’re here, we’re knowledgeable, and we’re genuinely glad you reached out.